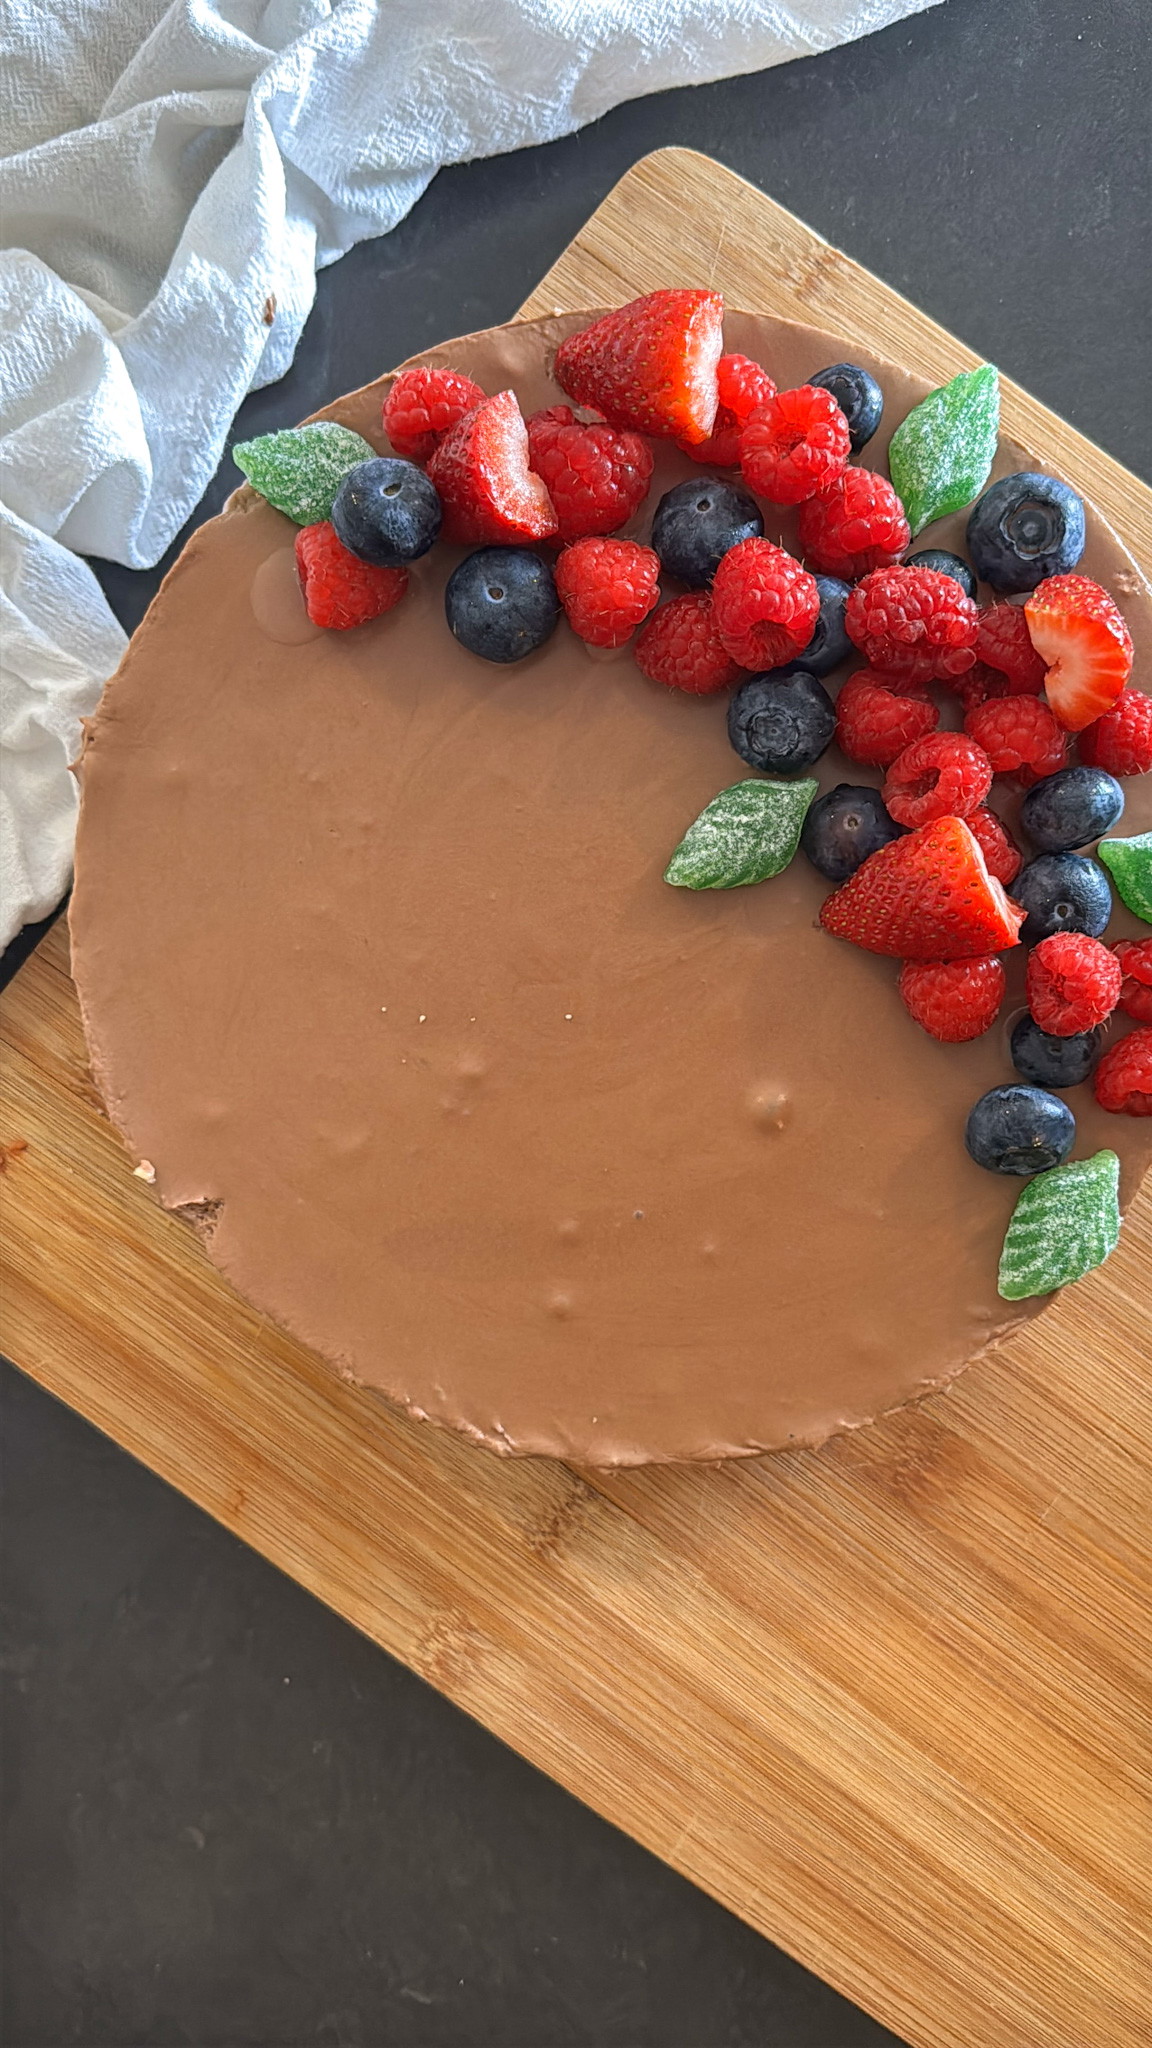
This Christmas Chocolate Mousse Cake with a buttery shortbread crust is the perfect festive dessert for holiday entertaining. Rich, silky, and chocolatey without being too heavy, it combines a crisp biscuit base with a smooth mousse filling for a show-stopping result that feels elegant but is surprisingly easy to make. Even better, it can be made ahead, leaving you more time to relax and enjoy Christmas day.
Christmas Chocolate Mousse Cake with Shortbread Crust – Elegant Make-Ahead Dessert
Christmas Chocolate Mousse Cake Recipe
Ashley’s Place
10-12
French
Dessert
A rich and silky Christmas chocolate mousse cake set on a buttery shortbread crust. Easy to prepare and perfect for making ahead during the festive season.
Ingredients
180g of Chocolate (I use 45% Dark) *see note 1
3 Tbsp of Water
40g of Unsalted Butter
3 Eggs Separated *See Note 2
1.5 Tsp of Vanilla Essence
95g of Caster Sugar (white superfine sugar)
375g of Thickened Cream (whipping cream)
blank
1 Packet of Bake it by Giovannellis Shortbread Baking Mix baked and cooled
40g of Melted butter
Directions
Make your shortbread cookies as per the instructions from Bake it by Giovannellis and let it completely cool before crushing them *See note 3
Once it is cooled break them up (they are pretty easy to crush up. Add yiur melted butter to the shortbread and give it a good mix, you can add more if needed
Now pop into the base of your cake tin I used a 9 inch spring loaded cake tin. If you have a spring loaded cake tin use this otherwise it can be harder to get out once its set. Use a spoon or glass to push the shortbread down so it all sticks together to form the base
Break up your chocolate (you don’t need to chop it), chop your butter into smaller pieces, and pop them into a microwave safe bowl with your 3 tbsp of water
Pop that into the microwave and melt in 30 second bursts but once you do 30 seconds take it out and give it a really good mix as the residual heat melts everything. Continue with the 30 seconds bursts until it is all melted, just don’t overheat this. Now don’t freak out when you first start to melt it, it will look like an absolute mess and you will think you have ruined it, but I promise you have not, trust the process and keep it going. Once it is mixed all together is will be smooth and shiny
Set this aside to cool a little, I usually pop it into a new bowl if the bowl is a bit warm just so it cools a bit quicker
Add your yolks and caster sugar into your mixing bowl, using your whisk attachment (or beaters), mix together on a medium-higher speed for about a good 8 minutes, we want it to become light in colour and thicker
While that is mixing, Whisk your cream until you get stiff peaks, it only should take a couple of minutes and stop the mixing when you get to stiff peaks we don’t want to overmix it. I use both my stand machine and my handheld mixer when making this to make it easier. Pop the whipped cream into the fridge while we make the rest
Once your sugar and eggs are mixed add your cooled chocolate & vanilla essence in and mix for another minute or 2 until it is all incorporated. Your chocolate doesn’t have to be cold but just not hot which is why we do it first to let it cool a bit
While that’s mixing whisk up your egg whites until you get stiff peaks
Fold a spoonful of egg whites into your chocolate/egg mixture and then fold in the rest in a few parts. We want to fold this not mix as we will loose the air we created. Fold until all is combined and the egg whites are finished
Now do the same with the cream, add a little bit fold it through and then continue with the rest in a few parts until it is all mixed through. Again we are just folding this, don’t overmix this or be really rough as it will loose the air
Pour your chocolate Mousse mix into your cake tin with the shortbread base. It will fill most of the tin, if your tin is smaller you can simply add the left over mousse to some little ramekins and have some extra individual serves