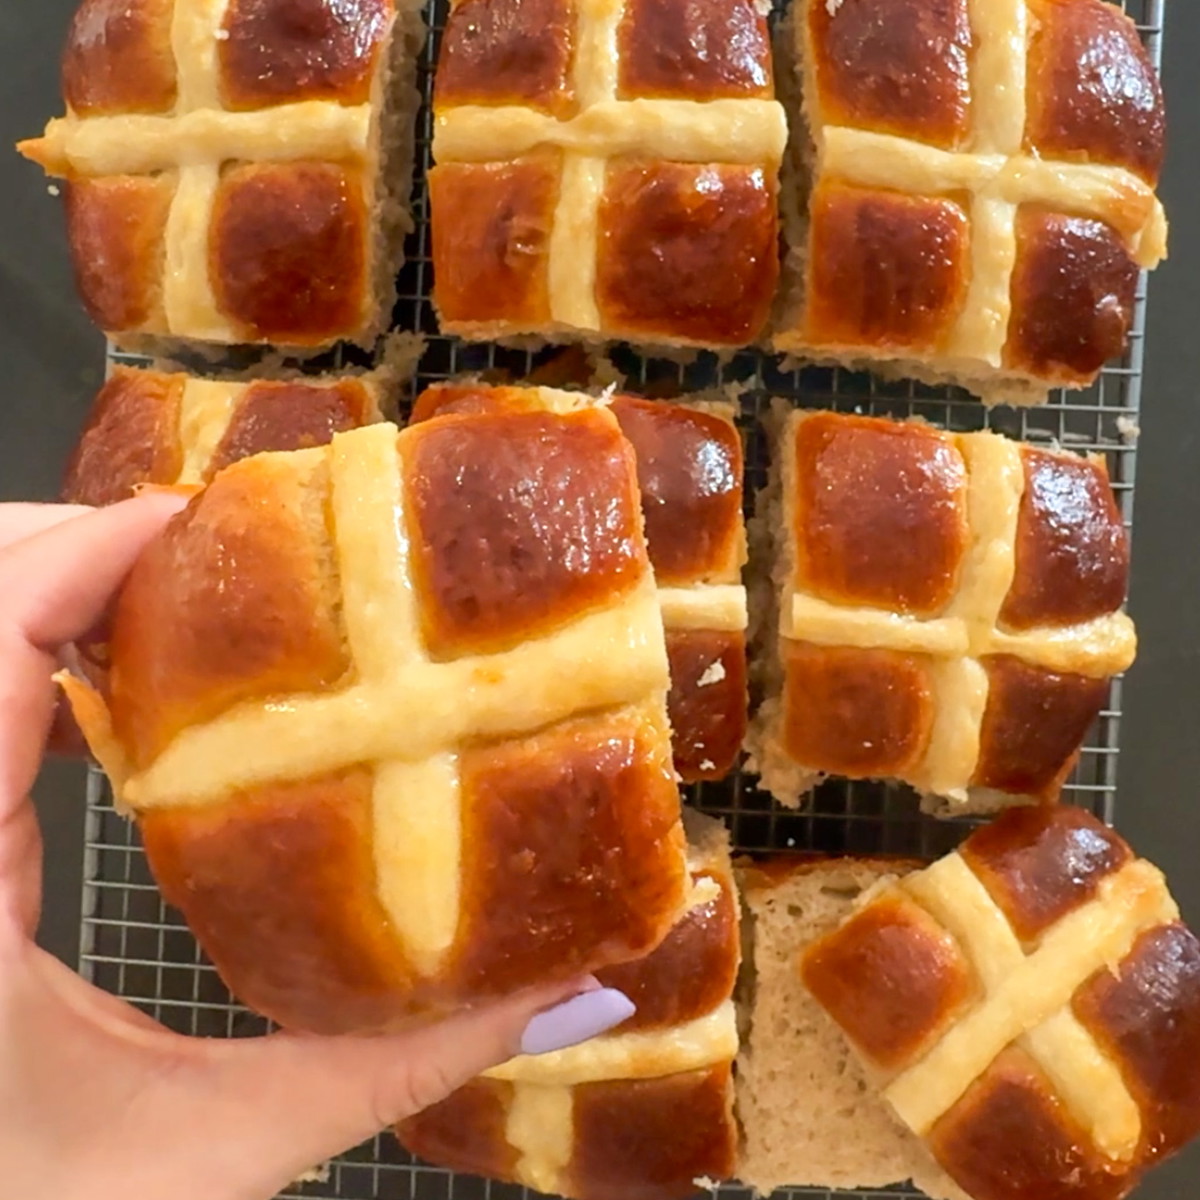
These Fruitless Hot Cross Buns are perfect for anyone who loves the soft, fluffy texture of a traditional hot cross bun without the fruit. Lightly spiced and beautifully soft, they’re ideal served warm with butter and make a great alternative for Easter baking. Whether you’re baking for kids or just prefer a simpler version, these buns are a delicious take on the classic. Made with Instant Yeast meaning they are quicker and simpler to make
Fruitless Hot Cross Buns - Soft, Fluffy & Perfect for Easter
Fruitless Hot Cross Buns Recipe
Ashley's Place
12
15 minutes
22 minutes
Australian
Baking
Love Hot Cross Buns but not the fruit versions? These Fruitless Hot Cross Buns are perfect for anyone who loves the soft, fluffy texture of a traditional hot cross bun without the fruit. Like all our other Hot Cross Bun recipes they are made with Instant Yeast which means they are easier and quicker to make. You could easily bake these up in the arvo
Ingredients
blank
500g Strong Bread Flour (*see note 1)
300ml Warmed Milk (*see note 2)
80g Caster Sugar (Superfine White Sugar)
50g Softened Butter
2 Eggs (1 for dough and 1 for egg wash)
2 Tsp Instant yeast (*See note 3)
1 Tsp Ground Cinnamon
1 Tsp Ground Mixed Spice (See note 4)
1 Tsp Vanilla Essence
¼ Tsp Salt
blank
75g of flour
70g of water
blank
1 tbsp Apricot Jam
Directions
Get out your eggs and butter to soften and come to room temp
Add your dry ingredients flour, yeast, salt, sugar, spices into your mixing bowl and give it a mix around
Warm your milk slightly in the microwave, do this in 15 second burst checking each time, we want it warm not boiling or super hot
Add your milk, vanilla, and egg into your bowl and start to mix with your dough attachment, mix for about 30 seconds and then start to add in the softened butter bit by bit
Once it is all added mix on a medium speed about a 3-4 on a kitchen aid for about 10-15 minutes. As it is mixing through stop the machine and scrape the sides down so it all mixes correctly. This is the part you need to trust the process it will look really sticky and like it is not coming together into a dough but trust me it will. Do not add more flour just keep mixing for that 10-15 mins, once it starts to come together, forms more of a dough and pulls away cleanly from the sides it is done
Cover with a damp tea towel, you can use cling wrap but I always use a damp tea towel making bread. This is so the top doesn’t become dry. Leave to rise in a warmer spot (not directly sitting in the sun) till double approx. 45mins -1 hr. This will depend how warm your house is, mine took about 55 mins and was an overcast day.
Line your 9x13 Inch tray with baking paper, use a little tiny bit of butter on the tray first it helps the baking paper stick. Leave a bit extra so you can easily pull them all out
Once it has doubled start to roll into your balls, now I like to weigh my dough and divide it by 12, then weigh out each ball into the amount that is even. This is definitely not something you have to do, I just like to make sure they are all the same size or even.
To roll get your dough and pinch all the sides at the bottom of the roll and then roll the dough ball so it becomes smooth. Place the seam side down on your baking tray and repeat until done
Place them 3 rows with 4 in each row with a gap in-between each. Cover with your same damp tea towel and leave again in a warm spot for the second rise again 45 mins - 1 Hour to rise again and about double.
About 15 mins prior to being ready start to pre-heat your oven at 180°C (350°F)
Once risen make your cross mixture, mix the water and flour together. It will be like a paste. If you find it is a bit too thick add a dash of water but only a tiny bit at a time and if for some reason it is super watery just add more flour but you shouldn’t need too
Whisk your egg and use a pastry brush if you have one to egg wash the top of your hot cross buns. Just don’t push to hard into the dough, lightly brush it on top
Pop your cross mixture into a piping bag or a Ziplock bag and cut the corner off and start to pipe your lines. Do 1 full joined line one way on each row and then do the line the opposite direction again all joined to get the cross. I do these joined because honestly it makes it so much easier to pipe it and not start and stop on each bun
Pop into the oven and bake away for about 22-23 mins, the top will become nice and golden which is a great sign they are ready. If they are still blonde on top they may need a few more mins
Once they are done immediately take them out and brush over your jam while they are still hot. If your jam is too thick heat it in the microwave for about 15 seconds prior to taking them out of the oven. Use a pastry brush if you have one
leave in your tray a few mins then pop onto a cooling rack, use your overhang to lift them out of the tray just watch your finger
Once cooled you can break them apart and enjoy right away
Store these in a airtight container, they will last about 3-4 days out of direct sunlight, but always most delicious the day or day after they are baked. Simply toast them up with some butter or pop in the microwave for about 10-15 seconds to heat and freshen up