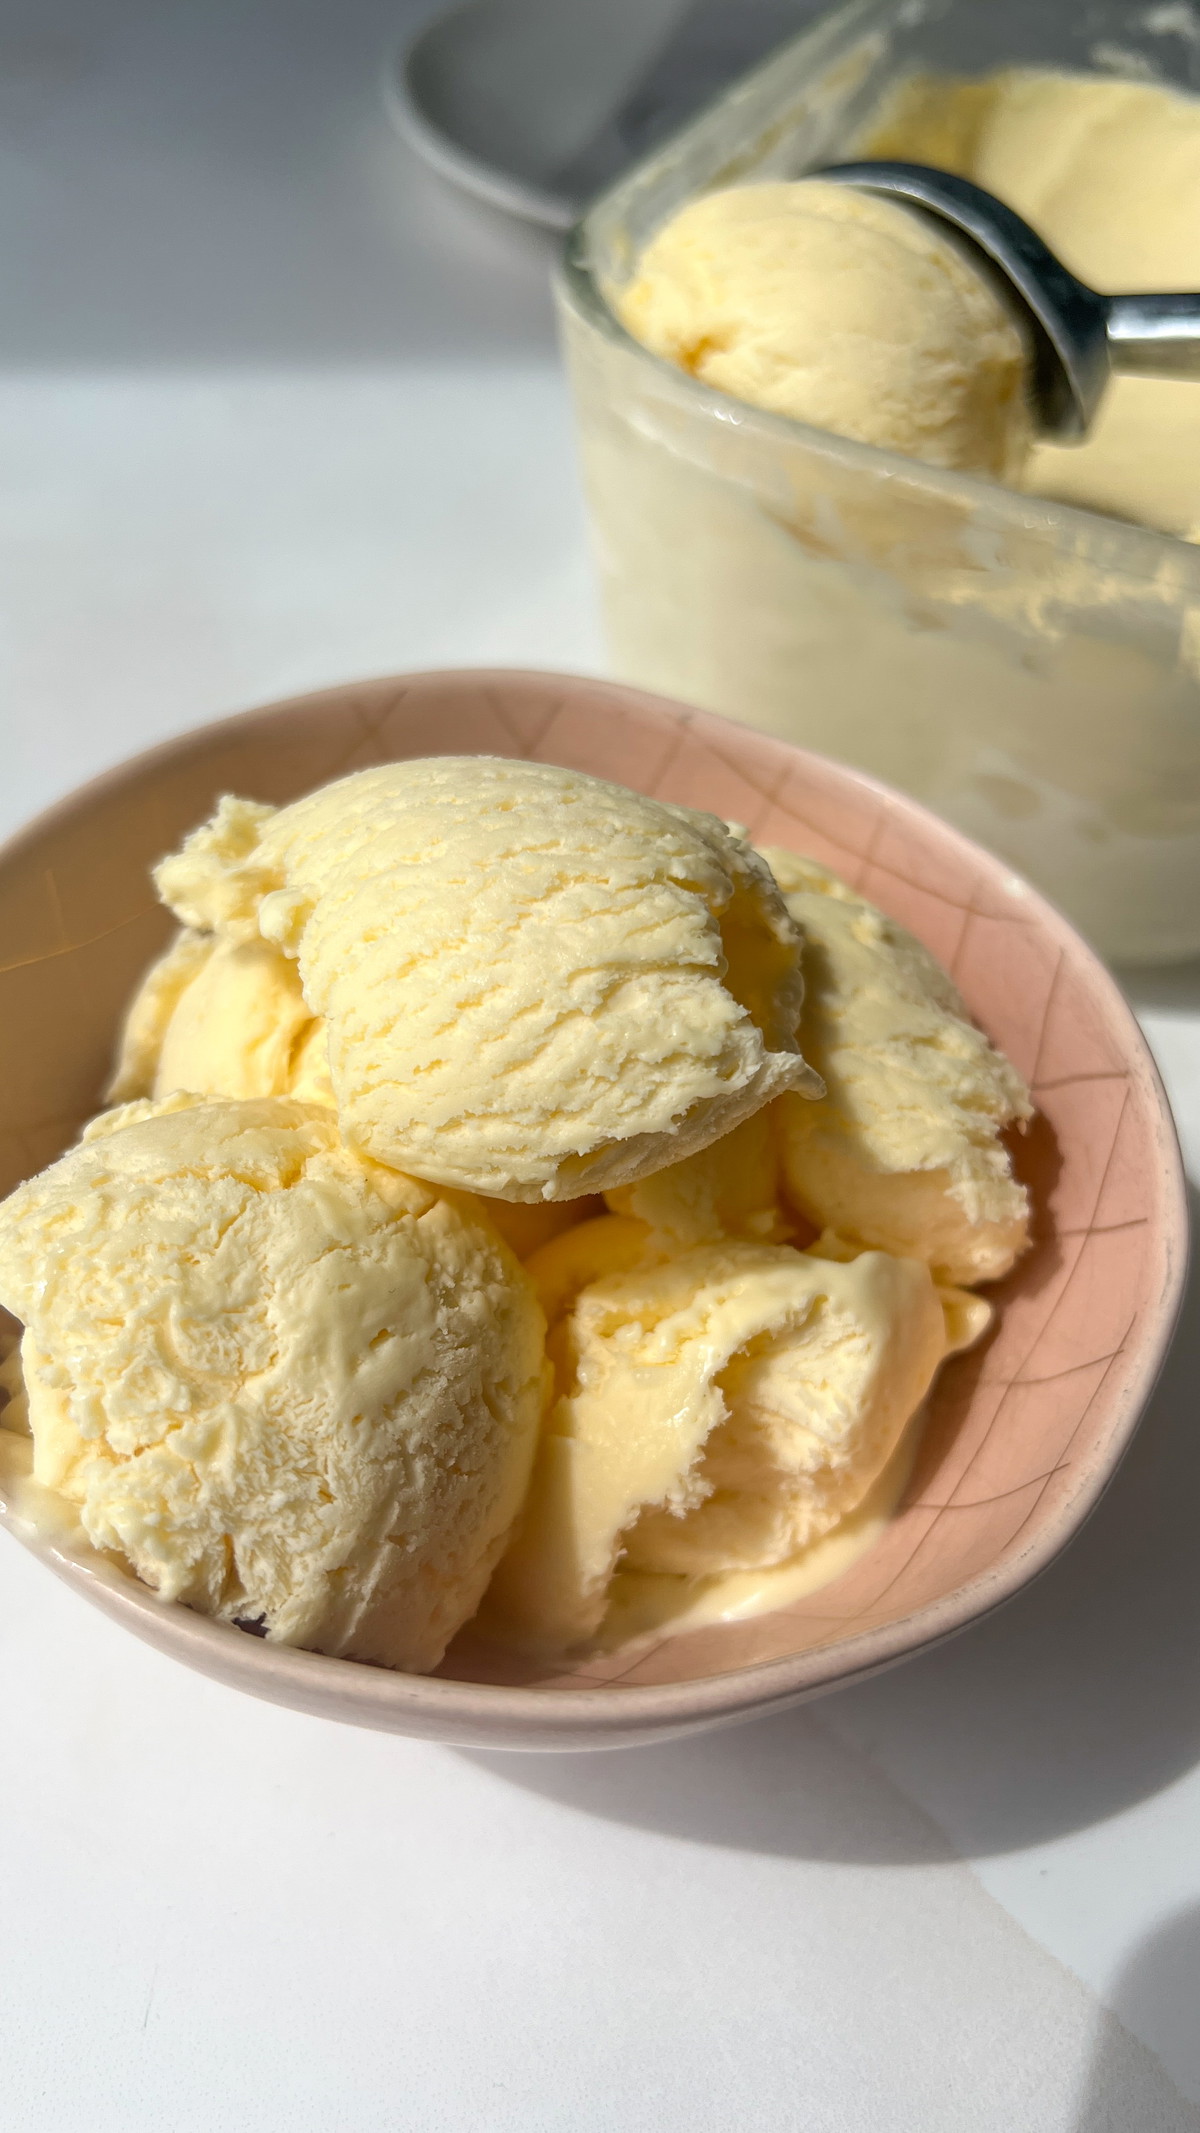
This homemade no-churn ice cream is creamy, dreamy, and incredibly easy to make, no ice cream machine required! With just a few simple ingredients whipped up in 15 minutes, you can whip up a rich and smooth ice cream base that’s perfect for customising with your favourite flavours, mix-ins, or toppings. Ideal for summer desserts or for the ice cream lovers.
Homemade No-Churn Ice Cream, Easy Recipe with No Ice Cream Maker Needed
Homemade Vanilla Ice cream No Churn
Ashley’s Place
4-6 Servings (680g of Ice Cream)
15 minutes
Mediterranean
Dessert
24 Hours
This recipe is incredible for summer and I learnt how to make it in Florence when I lived in Italy, it is actually called Florentine Gelato but we just call it no churn ice cream. It is the perfect recipe if you want to attempt making ice cream at home but you don't have a ice cream machine.
Ingredients
- 3 Large egg yolks
- 125g of Caster Sugar (Super fine white sugar)
- 1 Tbsp of Icing Sugar (Confectioners or Powdered Sugar)
- 500g of Thickened Cream (Heavy Cream or Whipping Cream) keep this in the fridge until whipping *Note 1
- 1/2 Tsp Vanilla Essence
Directions
Separate your egg whites from your egg
yolks. We are only using the yolks in this recipe. *Note 2
Add your egg yolks and caster sugar into a bowl, don’t let them sit there too long just pop them in and mix as the sugar can change/cook the egg yolks if let to sit too long. Mix the egg yolks and sugar together with a whisk attachment or hand held beaters until they are light in colour and nice and fluffy. Approx. 8 minutes* Note 3
Whip your cream, vanilla and icing sugar until it becomes firm peaks
Once both are done fold your yolk mixture into your cream, we don’t want to mix this roughly we need to fold as we don’t want to deflate our cream. I do this in 2 parts to make it easier I add half of the yolks, fold them in and then add the other half in. You want to fold it through until there is no yellow streaks left
Once mixed pop into an airtight container. I use these ice-cream containers linked here I got from Amazon. I really like them. If using a container from home use one that is the right size and not too much air insight otherwise it can go icy. Leave in the freezer to set overnight or 24 hours.
One it is set after 24 hours you can serve and enjoy with your favourite toppings. You can use a spoon dunked in hot water to help get it out this ice-cream will set firmer but is delicious and creamy.