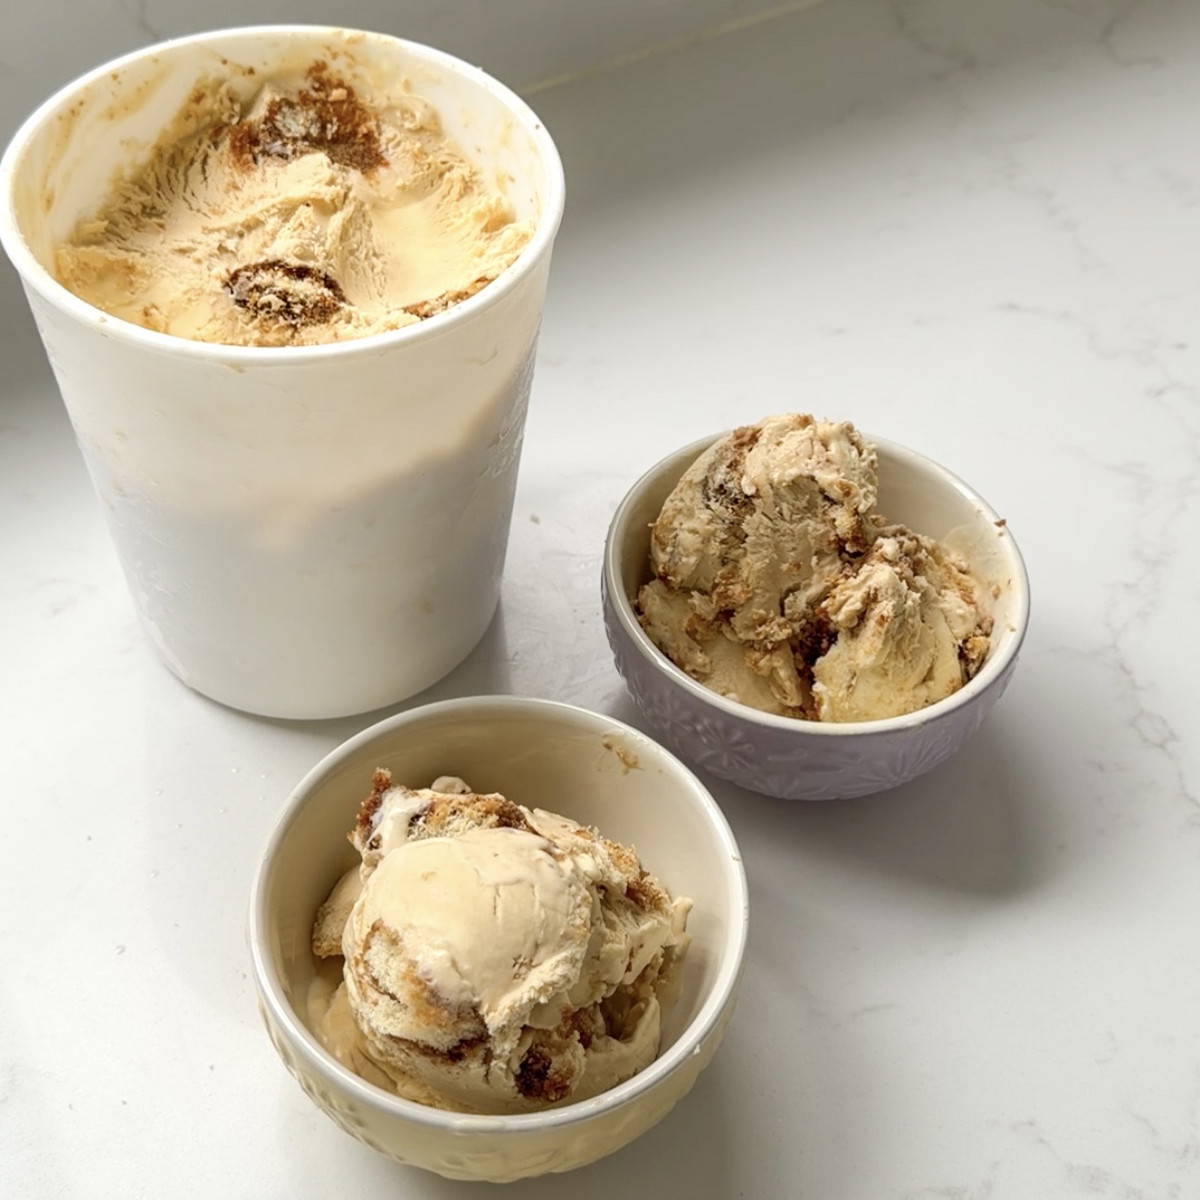
This No Churn Tiramisu Ice Cream takes inspiration from the classic Italian dessert and turns it into a creamy homemade ice cream without the need for an ice cream machine. Made with layers of coffee and vanilla ice cream and pieces of savoiardi (lady finger) biscuits throughout, it brings all those familiar tiramisu flavours together in a simple homemade ice cream. It's a fun twist on the classic and a great make-ahead dessert when you want something a little different.
No Churn Tiramisu Ice Cream Recipe
No Churn Tiramisu Ice Cream Recipe
Ashley's Place
4-6 Servings (680g of Ice cream)
15 minutes
Italian
Dessert
This has to be one of my favourite recipes I have made lately it is absolutely delicious. Inspired by my love of Tiramisu I decided to take my no churn ice cream recipe and make it into a Tiramisu version. It has that delicious coffee flavour without being too overpowering and had the creaminess from the vanilla ice cream that we get from Tiramisu.
Ingredients
- 3 Large egg yolks
- 125 g of Caster Sugar (Super fine white sugar)
- 1 Tbsp of Icing Sugar (Confectioners or Powdered Sugar)
- 500 g of Thickened Cream (Heavy Cream or Whipping Cream) keep this in the fridge until whipping *Note 1
- ½ Tsp Vanilla Essence
- 1 Tbsp of Cooled Coffee (*Espresso Coffee. See note 2)
- Optional extra 2-3 Tbsp of Cooled Coffee for biscuits (*Espresso Coffee. See note 6)
Directions
Separate your egg whites from your eggyolks. We are only using the yolks in this recipe. *Note 3
Add your egg yolks and caster sugar into a bowl, don’t let them sit there too long just pop them in and mix as the sugar can change/cook the egg yolks if let to sit too long. Mix the egg yolks and sugar together with a whisk attachment or hand held beaters until they are light in colour and nice and fluffy. Approx. 8 minutes* Note 4
Once this is whisked weigh out how much you have and split this into 2 leaving one half in the bowl you are whisking, we are splitting it as we will make half coffee and half vanilla ice-cream
Add 1 tbsp only of cold coffee to your eggs in the mixing bowl and mix together for another 1 min until all incorporated. Please make sure it is completely cold though so you don’t cook or split your eggs (*see note 2)
Whip your cream, vanilla and icing sugar until it becomes firm peaks and again weigh and split this into 2 equal halfs. We want to end up with 2 mixtures 1 vanilla and 1 coffee
Once both are done fold the ½ plain egg/sugar mixture into your cream, we don’t want to mix this roughly we need to fold as we don’t want to deflate our cream. I do this in 2 parts to make it easier I add half of the yolks, fold them in and then add the other half in. You want to fold it through until there is no yellow streaks left
Repeat this step but with the other ½ of your cream and the coffee ½ of your egg mixture.
Chop up your Savoiradi (Lady Finger) biscuits into small pieces and pop to the side
Once that is mixed we want to pop into a ice cream container or container. (*see note 5) We are going to do layers so pour about 1 cm of the coffee ice cream then about 1 cm of the vanilla (just guestimate it doesn’t have to be perfect)
Add in a few of your biscuits, I like to alternate some that have been dipped in cooled coffee and some without but this is optional you can just leave them plain.
Repeat this step until your container is full and you have used all your ice cream mixture
Pop on your lid andlLeave in the freezer to set overnight or 24 hours.
One it is set after 24 hours you can serve. I like to then add the cocoa powder on top once serving, but you could do melted choc or choc sauce. You can use a spoon dunked in hot water or leave the ice cream to sit for a couple of mins on the bench before serving to help get it out if it is a bit too firm.